Popular

How to Choose the Right Bronzer for Your Skin Tone
Discover the secrets to selecting and applying the ideal bronzer for your skin tone with our comprehensive guide. From determining your skin tone and undertone to mastering application techniques and
Read more
The 1995 Penny That Might Surprise You
A technical review of 1995 US one-cent coins. Description of the rare Doubled Die Obverse variety, PCGS auction records, price statistics, and identification methods.
Read more
Rare 2 Euro Coins That Regularly Appear in European Collections
Professional analysis of rare €2 coin investment data. Market trends, mintage statistics, and profit potential for Monaco, Vatican, and San Marino issues.
Read moreBeauty Investments: How to Achieve a Natural Tanning Glow without Streaks
Achieving the perfect self-tanner is like finding a rare coin for your favorite collection: you need to take into account many nuances to get the perfect result. And here collectors to make it easier for themselves can rely on Coin ID Scanner - one of the best coin identifier app to pinpoint rare and interesting pieces and even their value, but is there a similar tool that will tell you what to do and how to avoid mistakes when it comes to the perfect tone of your self-tanner? Of course, this is our tutorial and your knowledge after reading it - your main weapon to look great, to apply the tone without spots, streaks and unexpected shades.
We realize that looking chic is not an easy walk, because one wrong step and the result can be far from ideal. But fear not, today we are with you to talk about how to properly prepare the skin, choose a self-tanner, apply it without mistakes and take care of the tanned shade, so that it pleases you as long as possible. Just follow our tips to achieve a natural golden glow without any unpleasant surprises!
Step 1: Prepping the Skin – The Key to Success
One of the biggest mistakes people make when self-tanning is neglecting proper skin preparation. The smoother your skin, the more evenly your self-tanner will develop, preventing dark patches and streaks. Below you can learn about the “three whales” on the backs of which the success of the perfect self-tanner is based on.
Exfoliation
Exfoliation is the first whale, and here you need to remove dead skin cells that could cause uneven absorption of self-tanner. There are two main types:
Physical exfoliants – Scrubs with sugar, salt, or coffee grounds help slough off dry skin manually.
Chemical exfoliants – AHAs (alpha hydroxy acids) and BHAs (beta hydroxy acids) dissolve dead skin cells for a smoother finish.
Tip: The best time to exfoliate is 24 hours before applying self-tanner. With the passage of this time the skin’s pH levels balance, ensuring an even tan.
Hair Removal
Shaving or waxing before tanning helps avoid dark dots (from hair follicles) that can make your tan look uneven. Some rules to follow? Yes, shave or wax at least 12-24 hours before applying self-tanner to prevent irritation and product buildup in open pores.
Moisturizing Dry Areas
Some areas - like elbows, knees, heels, and hands - absorb more self-tanner, leading to darker patches. So, the last but not least is to hydrate these spots beforehand with a lightweight, oil-free moisturizer to prevent overdevelopment.
Lifehack: Apply body oil the night before tanning to deeply hydrate the skin. This creates a smooth base and prevents dryness, which can further lead to an uneven tan.

Step 2: Selecting the Right Self-Tanner
The process of choosing the right self-tanner is as important as looking for a foundation that matches your skin tone. The wrong product can lead to an unnatural orange hue or streaky results. You know that there are so many options available, thus firstly you need to understand their differences to select the best one to achieve a flawless, natural-looking tan.
Types of Self-Tanners: Which One is Best for You?
When it comes to self-tanners, there’s no one-size-fits-all solution. The best product for you will depend on your skin type, how experienced you are with tanning, and the level of control you want over your results. With so many different formulas available, it can be tricky to know which one to choose. Below you may find a breakdown of the most popular types of self-tanners to help you find the one that works best for your needs.
Type of self-tanner | Details |
Mousse | Lightweight and fast-drying, perfect for beginners. It’s easy to apply and works best with a tanning mitt for a streak-free finish. |
Lotion | Hydrating and buildable, great for dry skin. You can layer it to achieve a deeper tan gradually. |
Spray | Ideal for reaching tricky spots like your back or neck. However, it requires careful blending to avoid streaks. |
Drops | Highly customizable. You can mix them into your moisturizer for a subtle, gradual glow that builds over time. |
Wipes | Convenient for travel and on-the-go tanning. Just be careful—they can leave streaks if not applied evenly. |
Pro tip: If you're new to self-tanning, start with a gradual tanner. These products build up color slowly, giving you more control over the intensity and allowing you to avoid mistakes.
Finding Your Perfect Shade
Finding the perfect shade is another important thing of self-tanner and it depends on your natural skin tone and undertones (as these factors play a significant role in achieving a more natural and flattering tan). If you have fair skin with cool undertones, light golden or honey shades are a great choice, as they will give you a subtle, natural glow. For medium skin with neutral undertones, caramel or medium bronze shades work well, providing a balanced, warm tan. If you have olive or dark skin, rich, deep bronzes will improve your natural warmth and create a stunning, sun-kissed look.
Fun fact: The key ingredient in most self-tanners is DHA (dihydroxyacetone), which reacts with the amino acids in the outer layer of your skin to create that tan-like effect. The higher the DHA percentage, the deeper the tan will be!
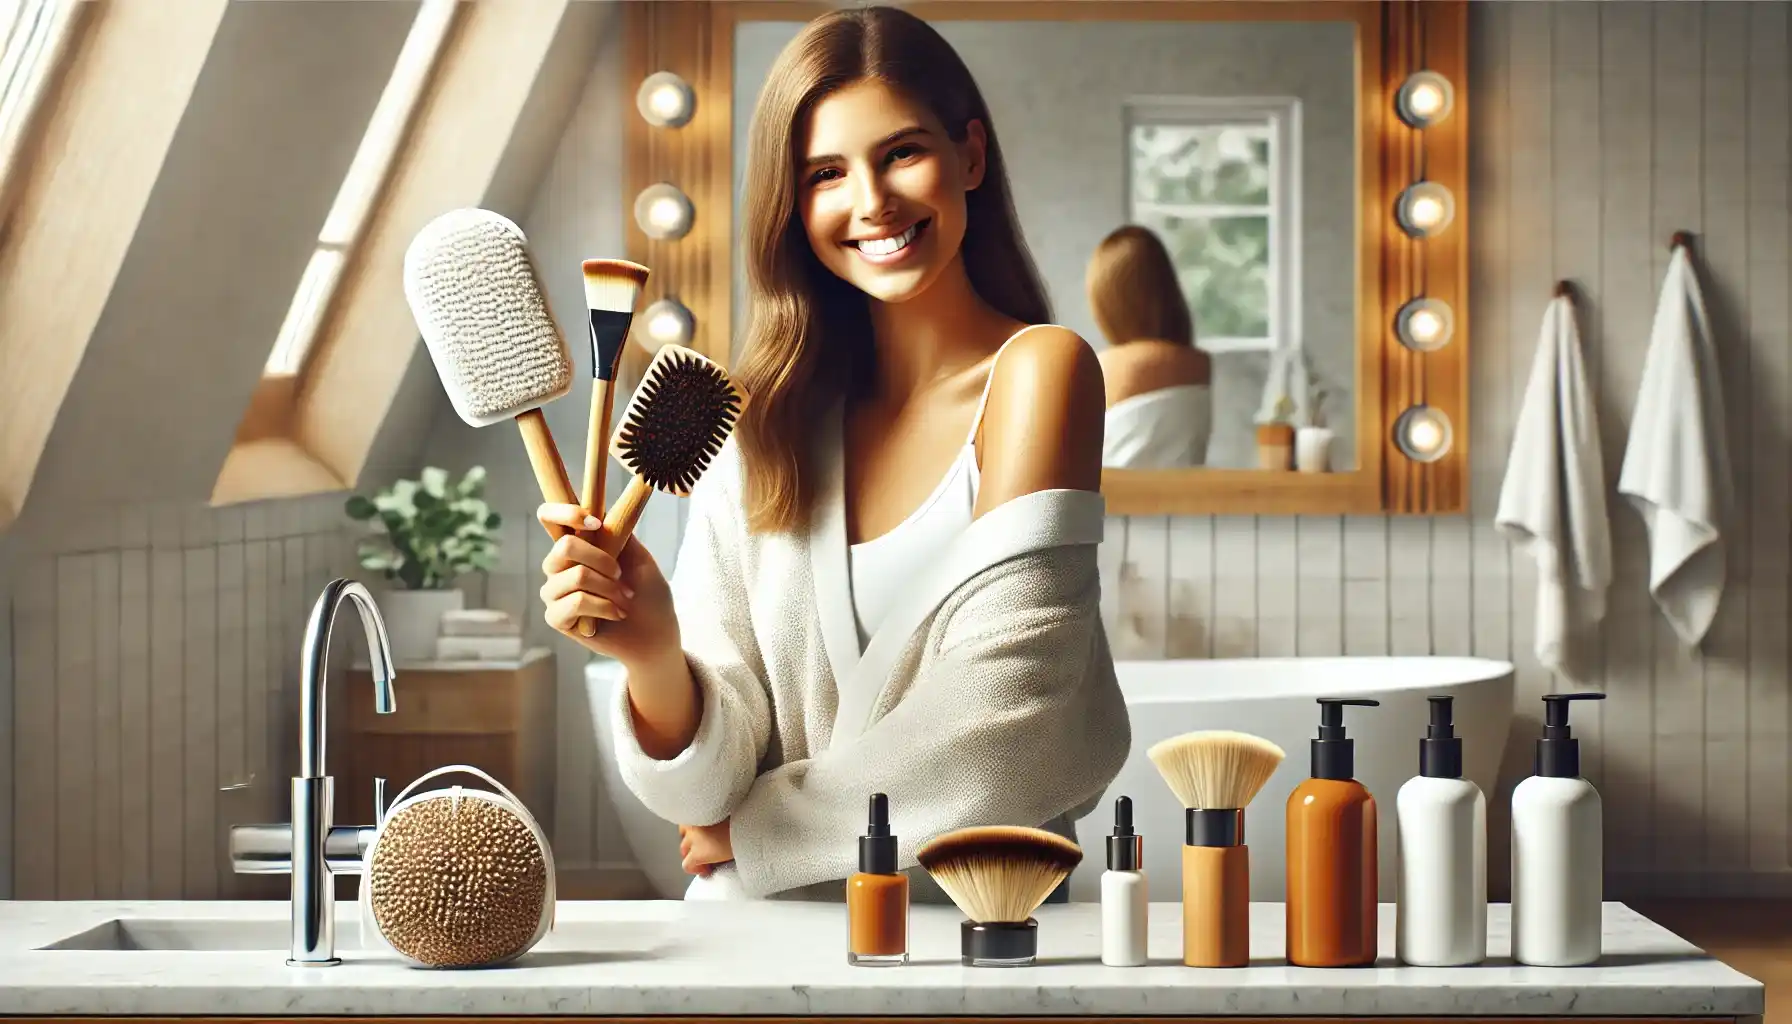
Step 3: Using Right Tools for Application
Your self-tanner is only as good as the tools you use to apply it. The right tools ensure an even, streak-free finish, so here you need to buy tanning mitts - the best option for smooth, even application, as it revents stained hands! At the same time brushes are ideal for precision (face, hands, feet). So, consider using a kabuki brush to blend a lotion seamlessly. Sponges are also a great tool for tricky areas like ankles and wrists where blending is crucial.
Pro tip: Apply a thin layer of moisturizer to dry areas before tanning. This creates a barrier that helps blend the product more naturally.
Step 4: Mastering the Application Process
Now that you’ve prepped your skin and chosen the right self-tanner, it’s time for the most critical step: the application. A flawless tan is not about slathering on as much product as possible, but it is also about technique.
So, start by dividing your body into sections: legs, torso, arms, and finally, the face and hands. Applying in sections ensures even coverage and prevents rushed, blotchy spots. Then use a tanning mitt to apply the product in circular motions, blending as you go. For trickier areas like the back, try using a tanning mitt attached to a wooden spoon, or better yet, ask for help.
Pay close attention to commonly missed areas like the back of the knees, around the ankles, and along the jawline. These are places where self-tanner tends to accumulate and create darker patches. Another common mistake? Applying too much product at one time. So remember that your light hand and thin, even layers will always result in a more natural, streak-free glow.
Hack: If you don’t have a tanning mitt, an old pair of thick tights can work as a makeshift applicator, blending the tanner smoothly without streaks.
Step 5: Locking and Maintaining Your Tan
The first shower after tanning should be quick and gentle. Use lukewarm water and avoid harsh soaps that could strip away the newly developed color. Instead, let the water rinse away the guide color naturally. You should also avoid scrubbing or using a loofah, as your tan is still developing underneath.
Tip: Pat your skin dry with a soft towel instead of rubbing to maintain the integrity of your tan.
Then, remember that a well-maintained tan can last up to a week with proper care. So, hydration is essential: you may apply a lightweight, oil-free moisturizer daily to keep your skin supple. Then you need to avoid exfoliants or products containing alcohol, as they can fade your tan prematurely. To prolong your glow, consider reapplying a gradual tanner every few days to maintain a seamless color. By the way, do you know that lotions infused with caffeine help improve tan longevity due to improving skin circulation, while coconut oil keeps the bronze hue looking fresh.
Additional Advice: How to Remove Patches and Streaks
Even with the best technique, mistakes happen. If you notice streaks, a simple mix of lemon juice and baking soda can help lighten dark patches. Soaking in a warm bath with a few drops of baby oil for 20 minutes can also help you soften and fade an uneven tan.
The Final Touch
The perfect tan is not magic, but a simple set of rules that are now in your arsenal. A little preparation, a drop of patience, the right product and you're ready to shine with a natural, even tone. The most important thing left is to try it!